For orthodontic orthodontic treatment using dental aligners aligners, invisible aligners are crucial for optimizing tooth movement and guarantee predictable results. For orthodontists and dentists wishing to offer aligners to their patients, mastery of this technique is essential to ensure maximum treatment efficiency and enhance the overall patient experience.
This guide will provide you with detailed instructions and practical tips for successful cleat installation.
Cleat identification on set-ups
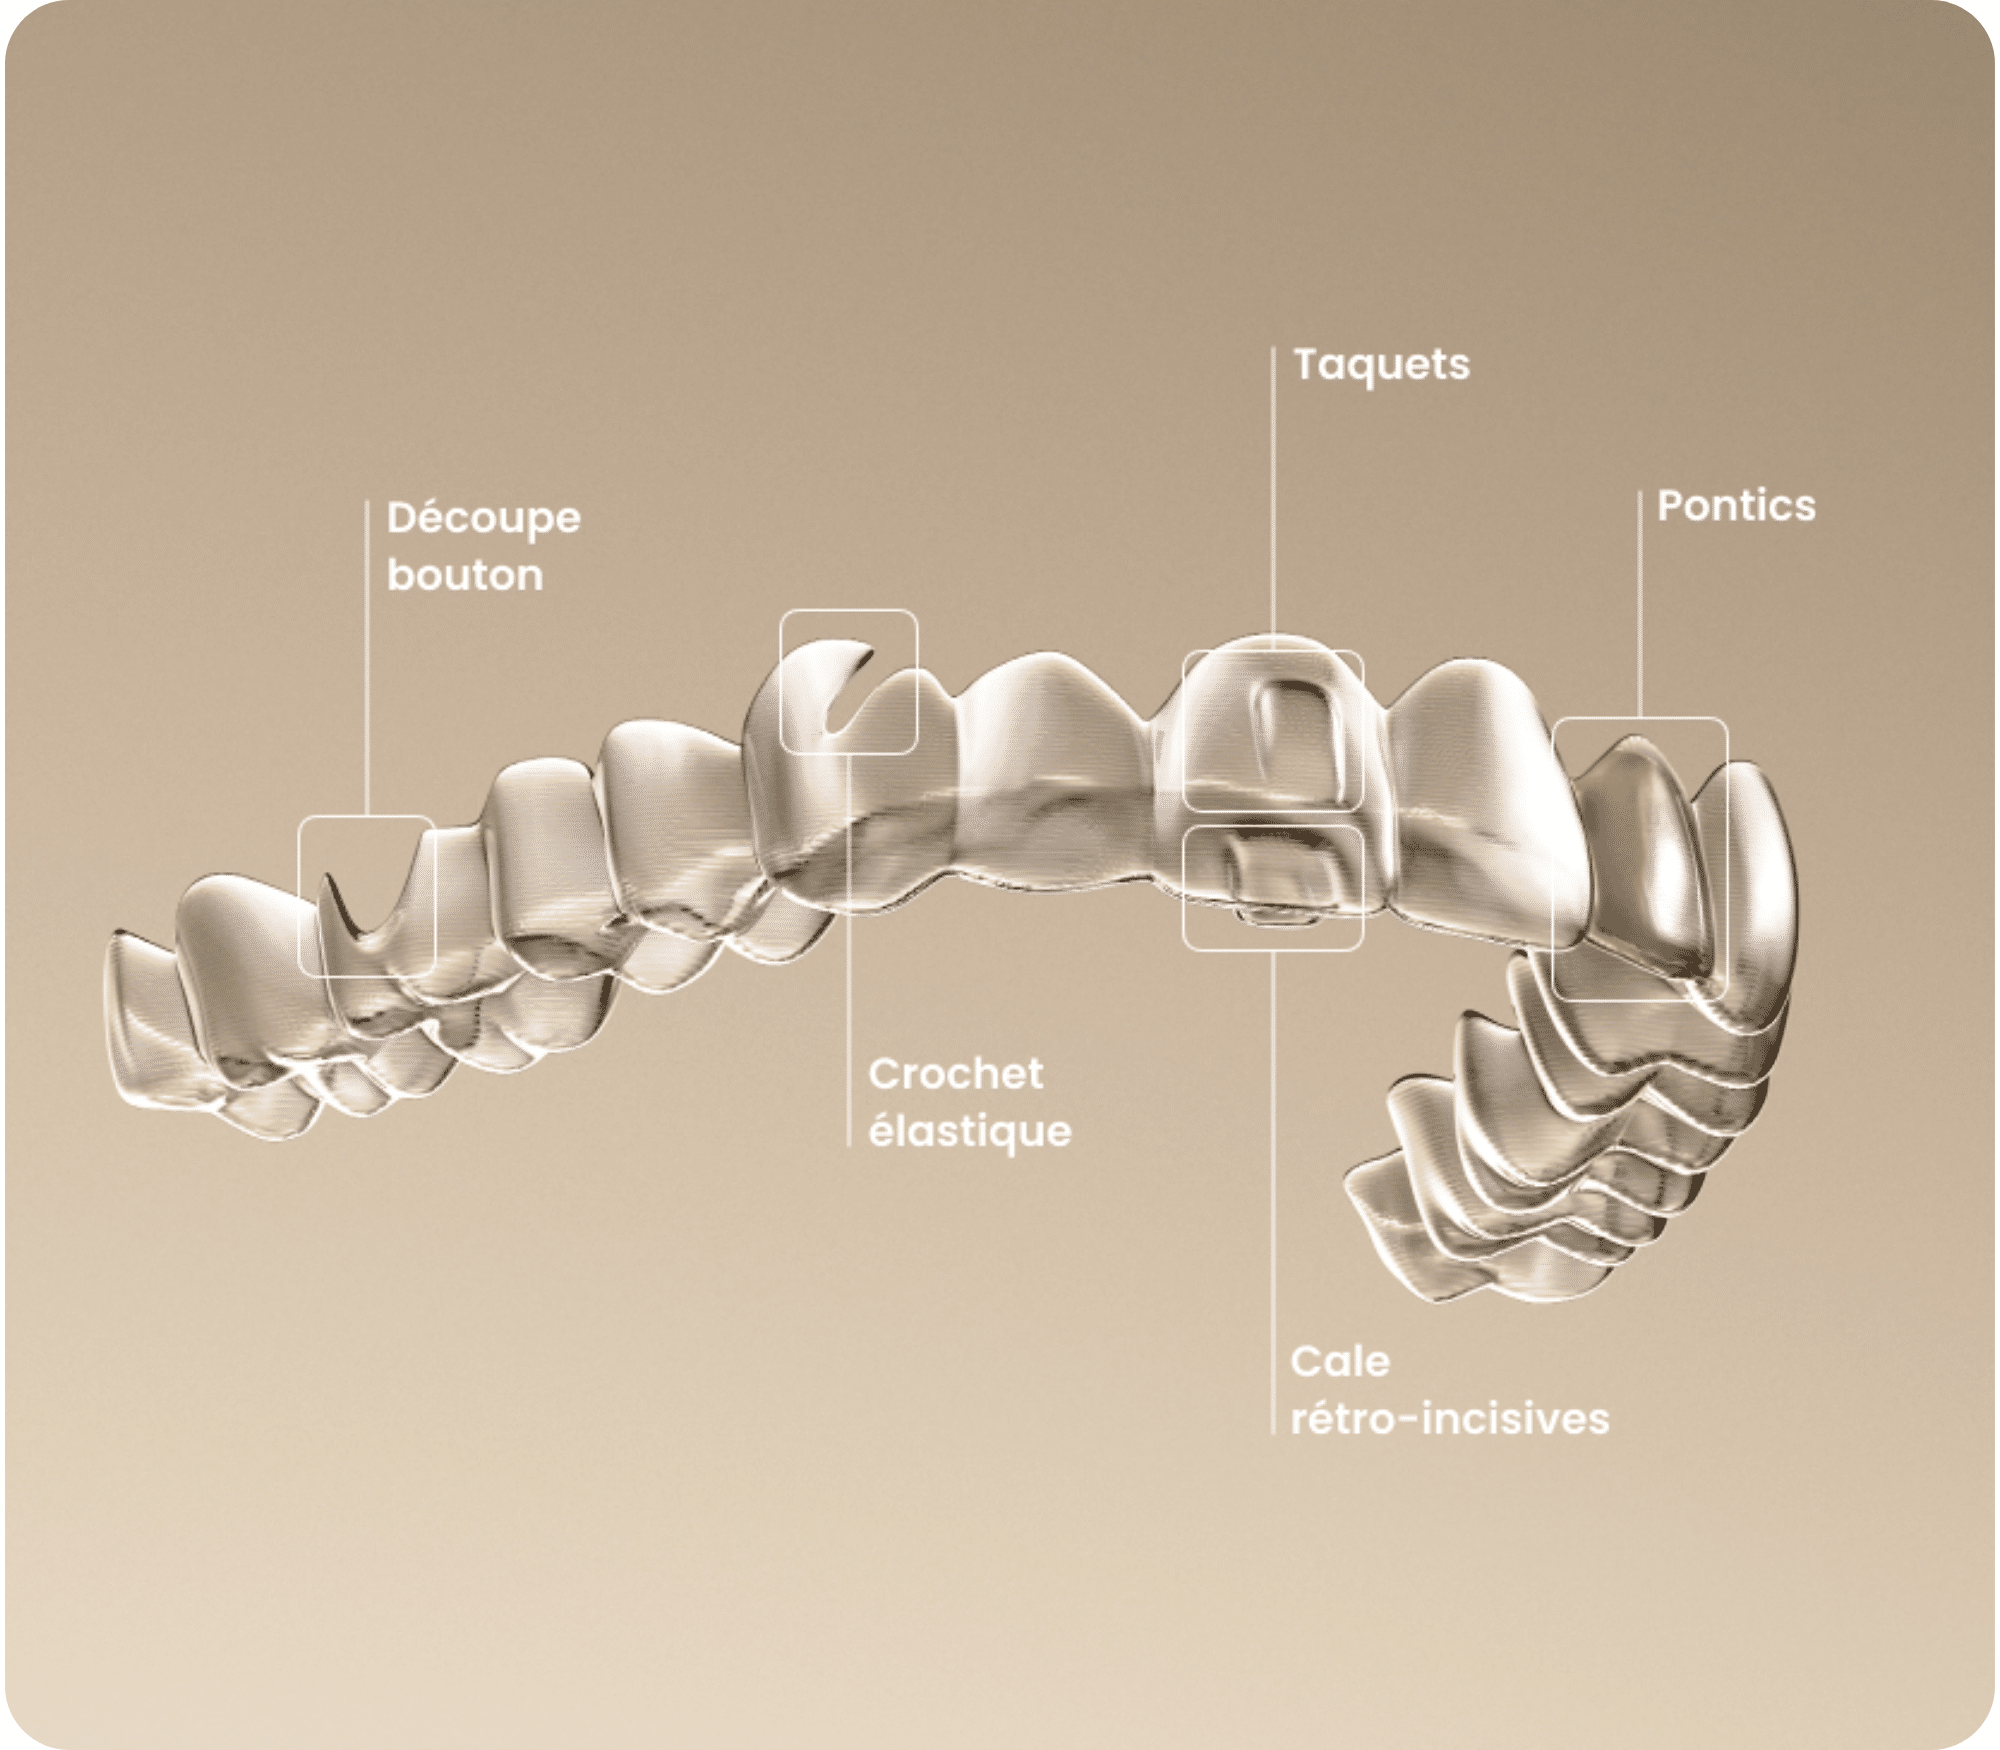
Before installing the cleats, it is crucial to identify them clearly on the set-ups to avoid any confusion with the auxiliaries. The processing set-ups will tell you exactly where to place the cleats.These are essential for guiding specific dental movements. Take the time to check each set-up and correctly identify the cleats.
This initial identification stage is fundamental to the accuracy of orthodontic treatment. Correct cleat identification ensures that each cleat is positioned exactly where it needs to be to exert the force required to move the teeth. In addition, by taking the time to correctly identify the cleats, you reduce the risk of errors that could prolong treatment or require further adjustments.
It can also be useful to use color codes or specific markings on set-ups to easily differentiate cleats from auxiliaries. This visual practice can simplify the process and ensure total clarity during preparation and installation.
Preparing tooth surfaces
To prepare natural tooth surfaces, apply 37% orthophosphoric acid to the areas where the cleats will be placed. Si vous travaillez sur des couronnes, utilisez plutôt de l’acide fluorhydrique pour obtenir une adhésion optimale.
After thoroughly rinsing and drying the teeth, apply a thin layer of adhesive to the prepared surfaces. Assurez-vous que l’adhésif est uniformément distribué pour garantir une bonne rétention des taquets.
Cleat installation
Visit cleat installation is a crucial step in orthodontic treatment with dental aligners. Correct and meticulous application of the aligners guarantees their effectiveness and durability throughout the treatment. Here are the detailed steps for successful cleat application:
1. Resin injection
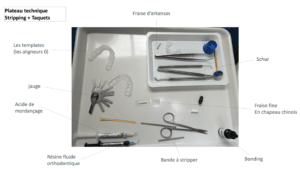
Ask your assistant to inject the composite resin into the cleat impressions on the positioning tray. Make sure each impression is completely filled with no air bubbles to ensure perfect adhesion.
It is also essential to check that the resin quantity is sufficient to avoid delamination during treatment. An even distribution of resin will ensure the stability of the cleats throughout the wearing of the invisible aligners.
2. Positioning the gutter
Position the resin tray on the patient’s teeth, making sure that it fits perfectly for precise precise positioning of the cleats. Assurez-vous que la gouttière est bien en place et ne bouge pas avant de commencer la photopolymérisation.
3. Photopolymerization
Light-cure each cleat individually, holding the curing light on each cleat for the time recommended by the manufacturer. Work one arch at a time to ensure complete and accurate polymerization.
During light curing, press firmly with a dental instrument to ensure optimum ensure optimum adhesion of the cleat to the tooth surface.

Cleaning and finishing
After polymerization, remove excess resin from around the cleats using a probe, cup or multi-blade burr.
Also carefully check the stability and positioning of the cleats. Make sure there are no sticking points or residues that may cause discomfort to the patient. Ask your patient to bite lightly to confirm that the cleats are securely in place and do not interfere with jaw closure.
Regular follow-up
Inform your patients about the importance of maintaining excellent oral hygiene to avoid complications. Explain to them how to clean properly around cleats and aligners and aligners, emphasizing the use of interdental brushes and dental floss to remove plaque and food debris.
Make sure at every control session and adjust them if necessary. These appointments allow you to monitor treatment progress, make precise adjustments, and quickly resolve any potential problems. During these visits, take the time to discuss your patients’ progress, answer any questions they may have and encourage them to maintain rigorous oral hygiene to ensure the best possible results.
In conclusion
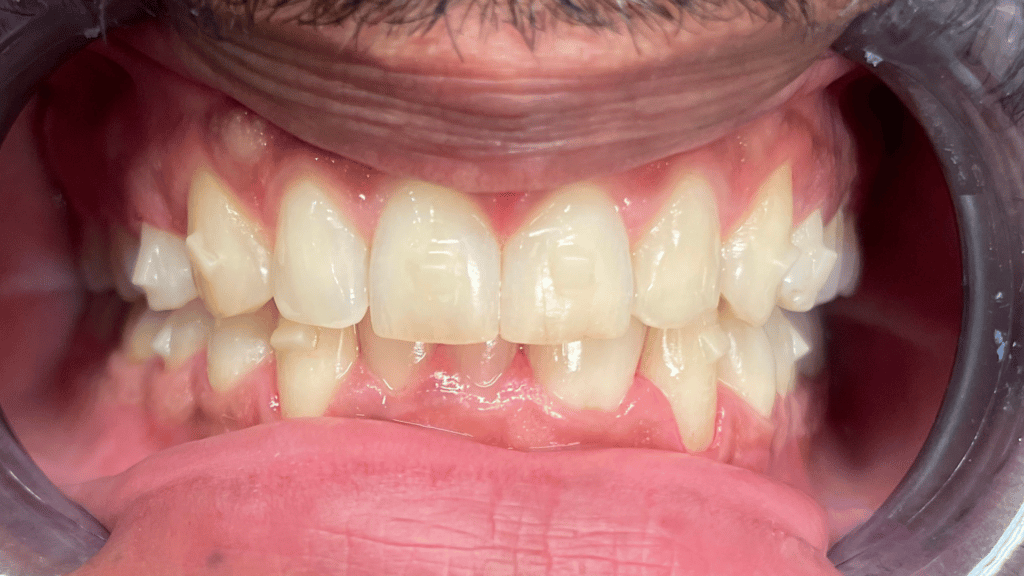
Cleat installation is a technical but crucial step in orthodontic treatment with dental aligners. By following these steps and using the right tools and techniques, you can guarantee precise, long-lasting cleat placementand optimize treatment results for your patients.
Don’t hesitate to keep up to date with the latest developments and provide the best possible care.


